Step 1 - Remove the barreled action from the stock by removing the 2 black cap screws underneath the stock.
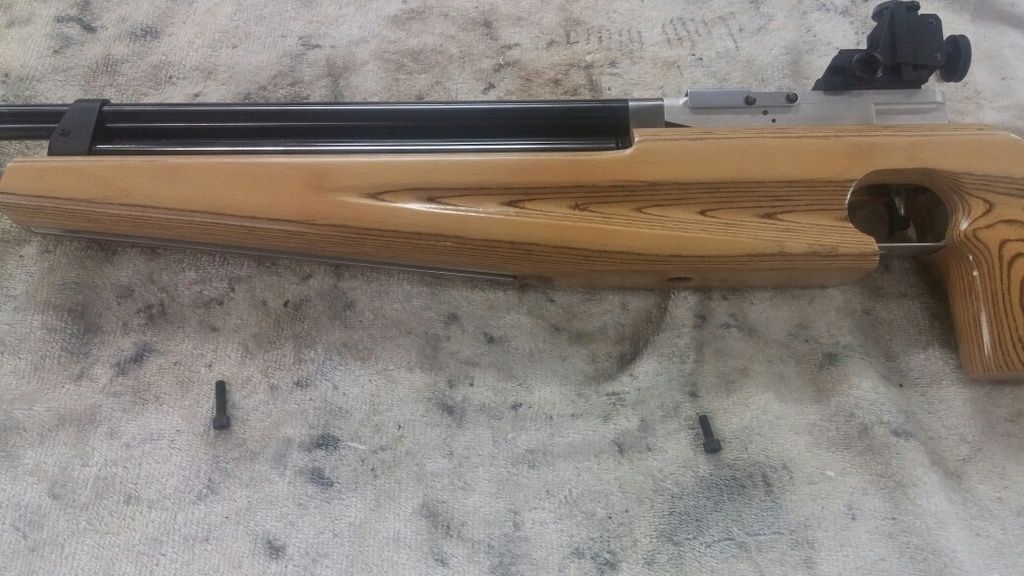
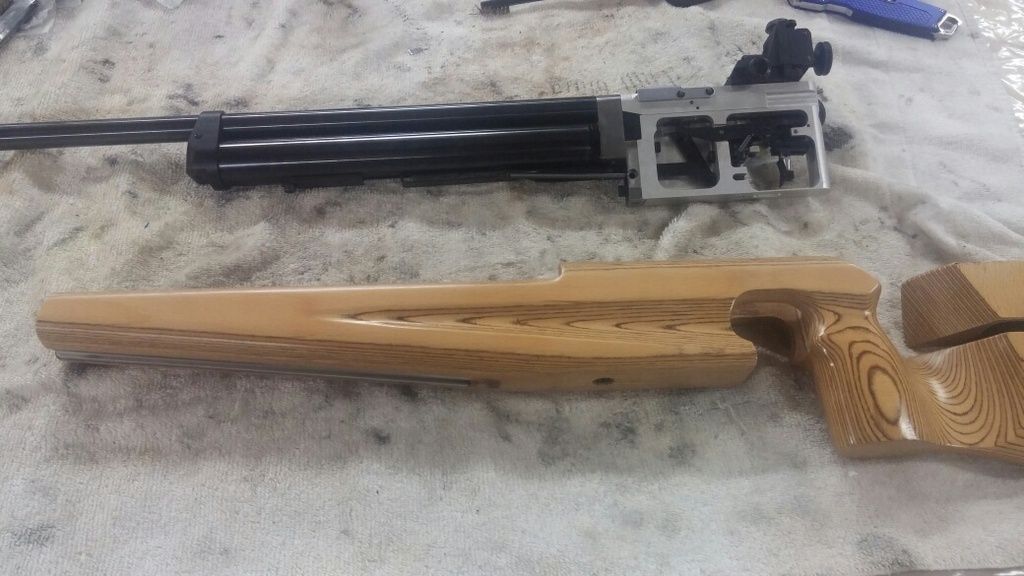
Step 2 - Separate barreled action from stock by lifting out.
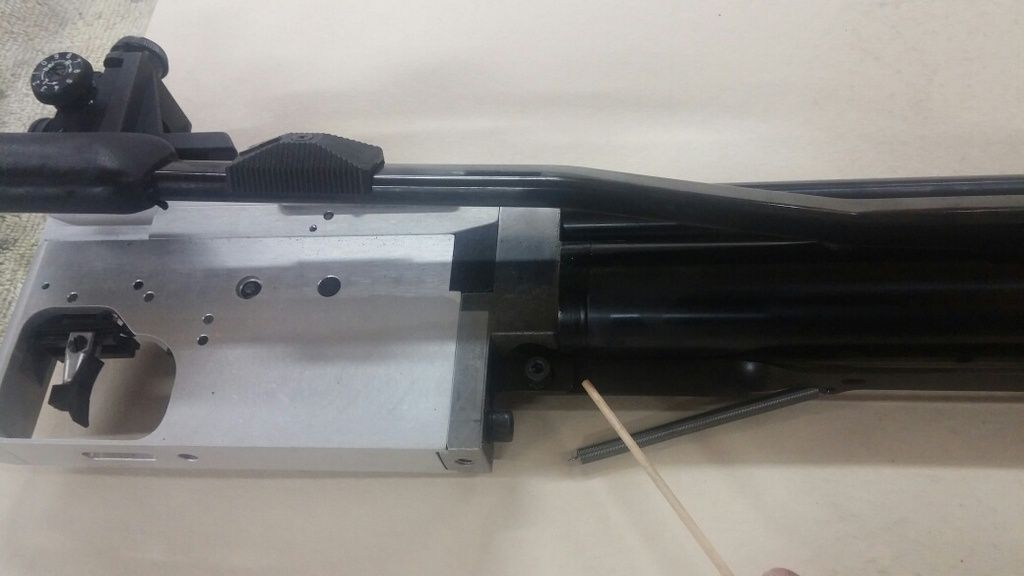
Step 3 - Locate linkage spring on the left side of the action. Disconnect where it attaches to the trigger box only, it is not necessary to remove it from the linkage. Needle nose pliers are handy here.
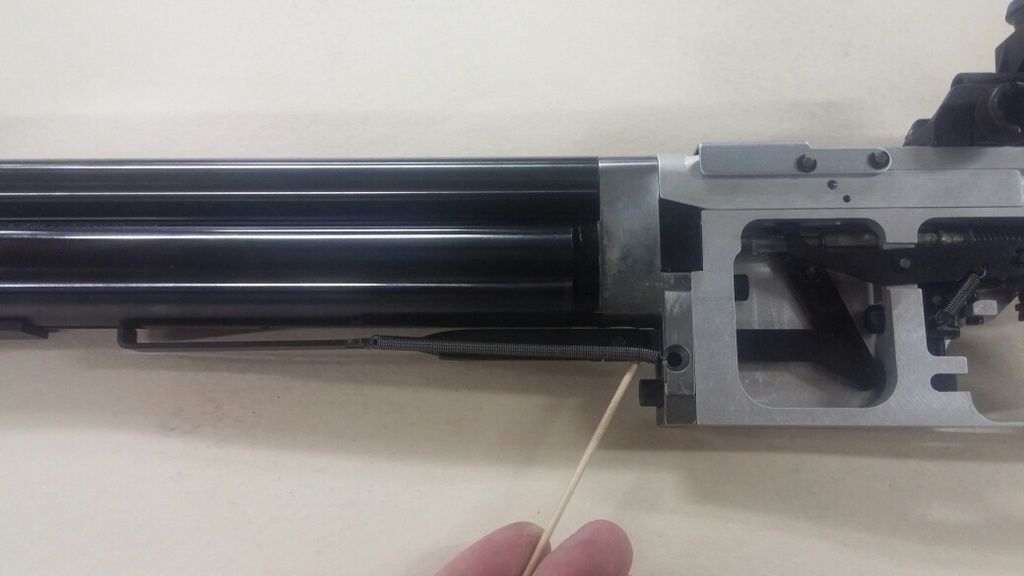
Spring broken loose.
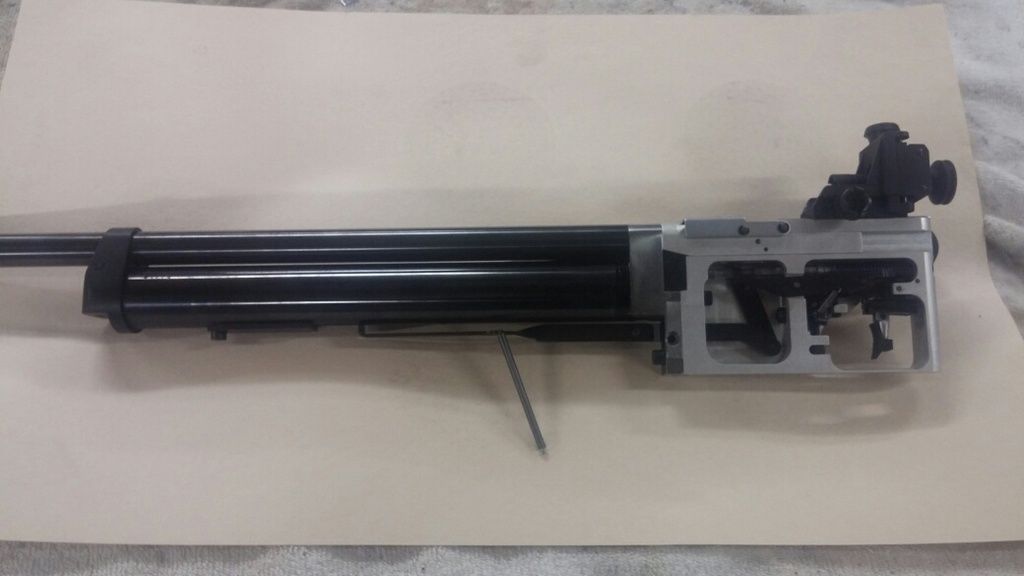
Step 4 - Flip action over to the right side. There is a section of the linkage that passes through the trigger box, this linkage can be split by removing a cap screw. Note that there are serrations that locate the two pieces properly and keep them square.
Take a piece of tape and lay over the linkage serrations to mark its current location, this will be used in reassembly. After being marked, remove the cap screw to disconnect the linkage.
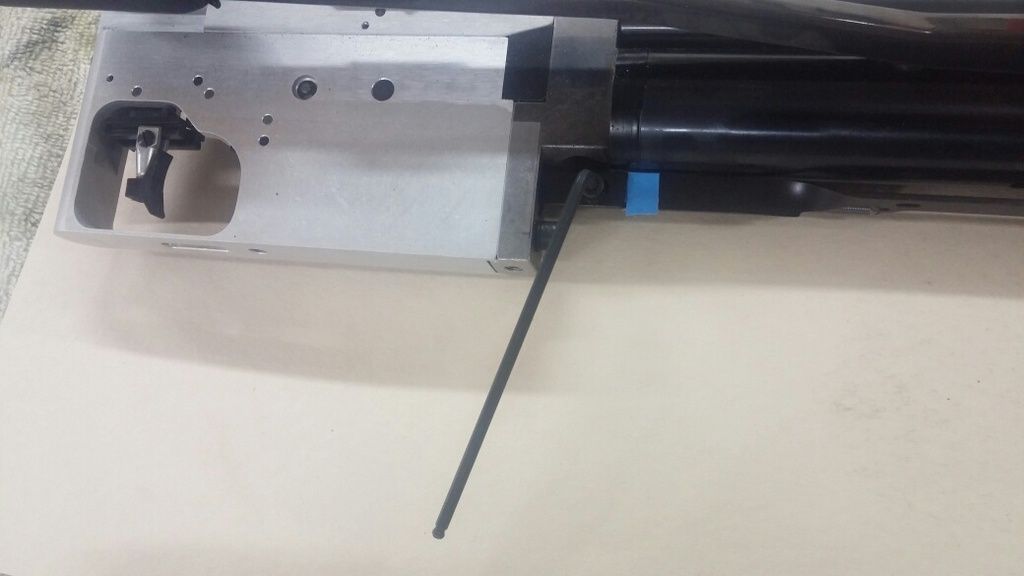
Step 5 - Locate the 2 cap screws (faced opposing directions) that hold the trigger box onto the action. Carefully remove the screws, the one "inside" the trigger box is a bit trickier. I had a set of ball end allen wrenches which made removing and reinstalling this screw easier but a bit of patience will go a long way.
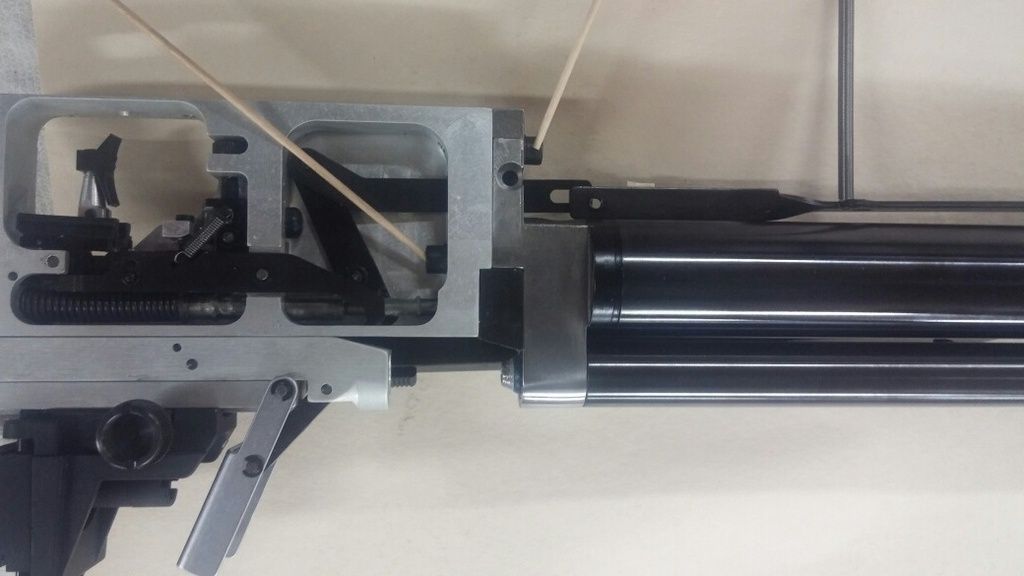
Step 6 - With the two screws removed disconnect the trigger box and set aside.
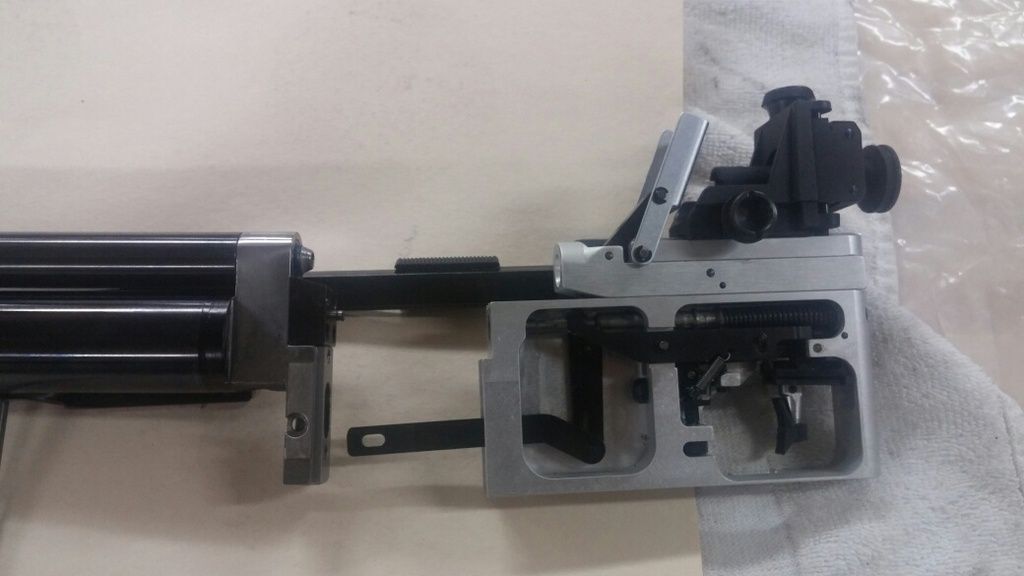
Step 7 - This is what the back of the action block looks like once the trigger box has been removed.
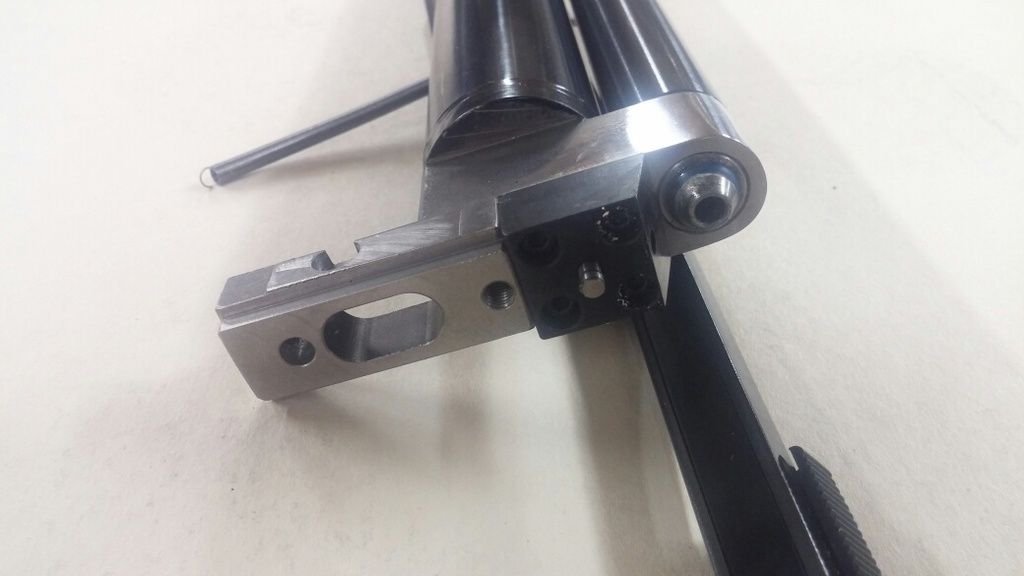
Remove 4 cap screws that retain the action block. Here is the back of the action block once removed.
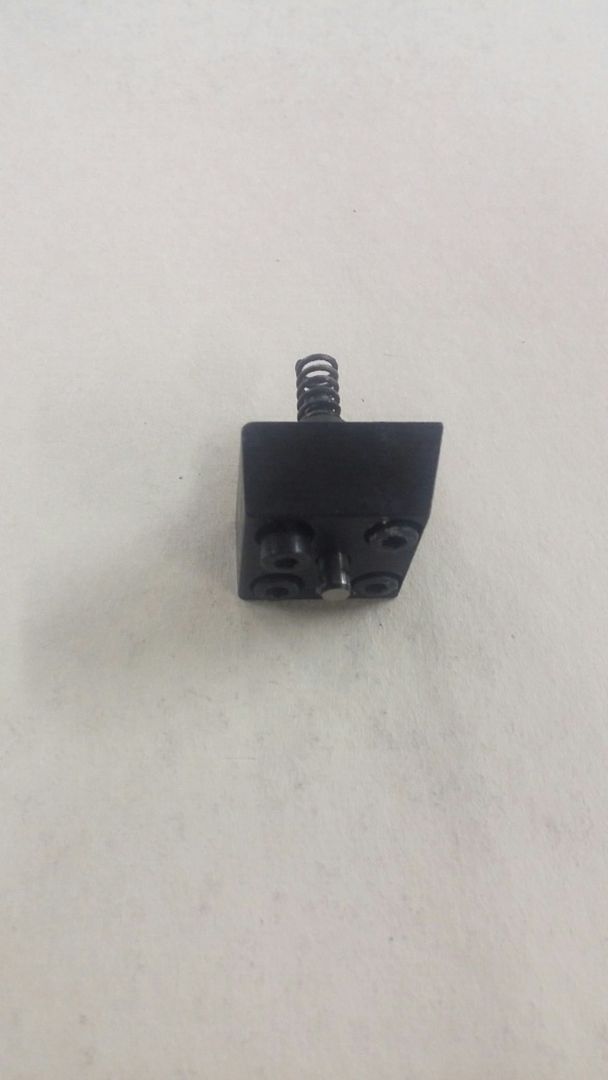
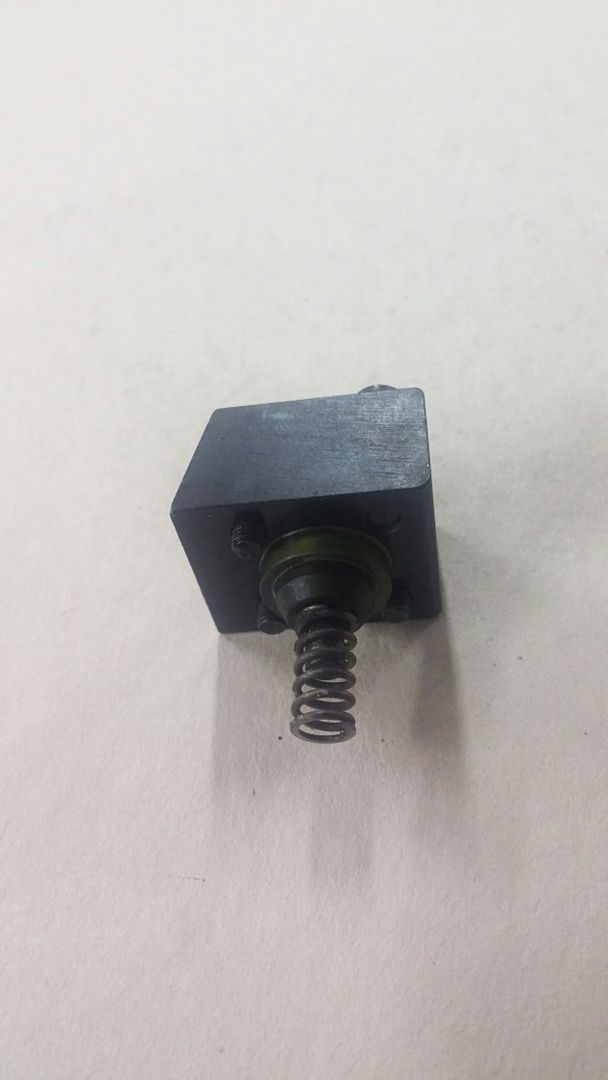
Here is the front of the action block with old exhaust seal still in place.
Here is an exploded view of the parts that combine to make the action block & exhaust valve.
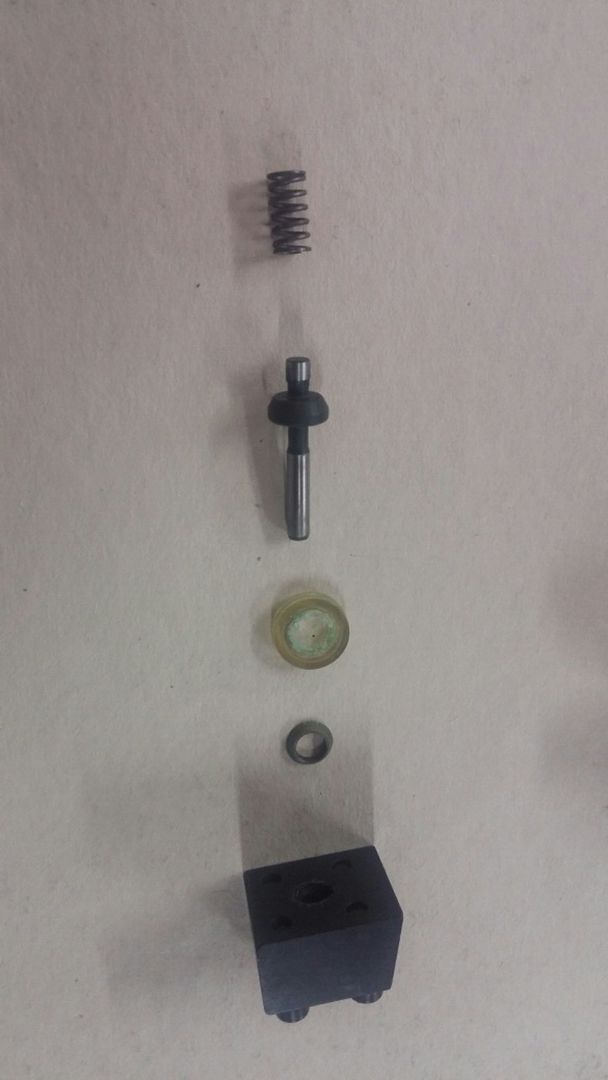
Please note that the brass cup washer will be embedded in the old exhaust seal quite well, you'll have to remove the washer to reuse.
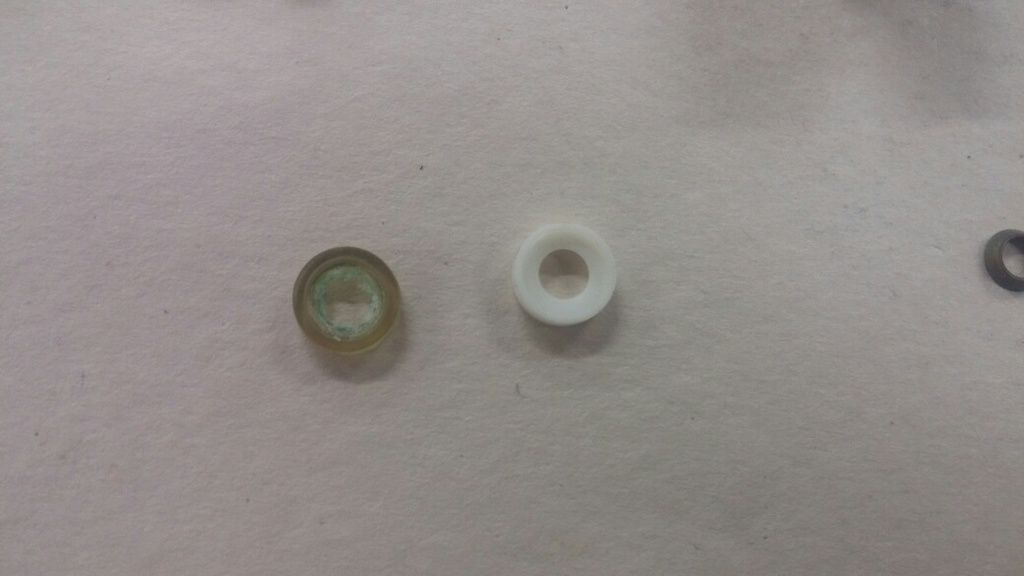
Here's a new exhaust seal next to the toasted seal. Notice the erosion around the ID of the seal.
Reassembly the action block with new seal.
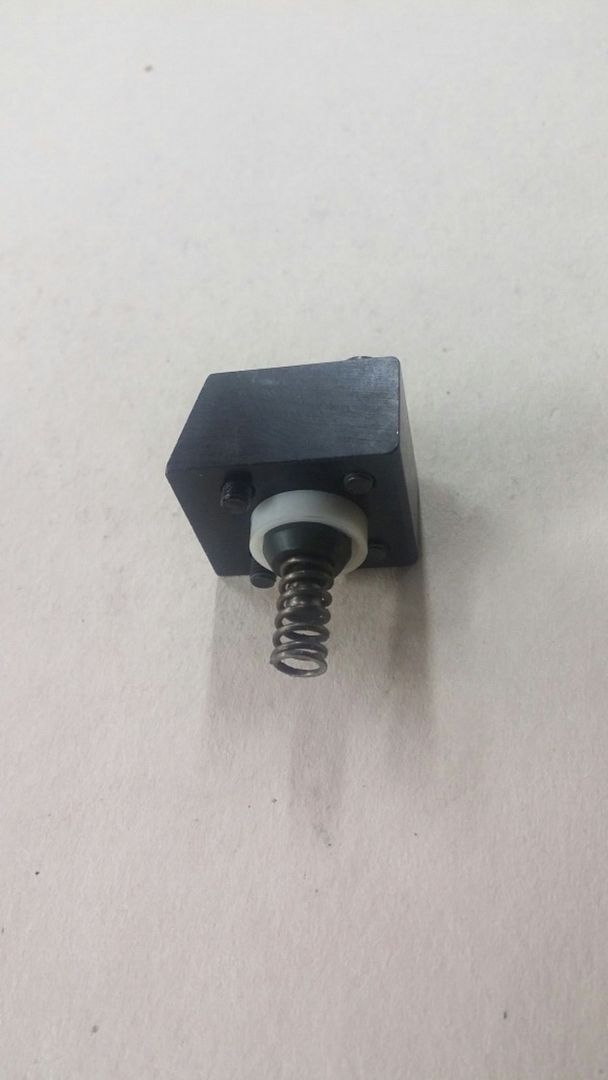
Repace action block with 4 cap screws. Replace trigger box with 2 cap screws. Be careful with the lower of the 2 bolts as its going into tapped aluminum as it will be easy to cross thread. Again, using a ball end allen wrench will make the top cap screw easier to replace.
Reconnect the linkage using the tape applied earlier as a guide. Replace spring and place the barreled action back into the stock. Replace the barreled action back into the stock and secure with 2 cap screws, the shorter goes in the rear.
Shoot safe and have fun.